How To Hang Photos
Hi all! One of the most common questions (right after “What do we wear?”) is “How should I hang these photos?” While I’ve been known to come and measure many a client’s wall, I’m always a bit reluctant to give just one way to hang them. It’s really a personal choice, and while I love canvases and standouts, frames might be more your style. Some people need symmetry on their walls, others like a more random look. So I thought I’d spend some time showing you different wall layouts to prove that like there’s no wrong way to eat a Reese’s, there’s no wrong way to hang photos. Except upside down, that’s not a great idea.
Before I show you some pretty amazing ways to hang photos, I wanted to start with how to actually hang them and make sure they’re straight. There are two ways I think work best: 1. Using brown butcher paper. 2.Using painters tape. Basically laying it out ahead of time, either with a template of paper or tape, will save you time and hundreds of nail holes in the wrong places!
1. Gather all the pictures you want in the collage. It looks best to have some common denominator (all black and white, all color, same color frames, etc.).
2. Trace each picture onto paper (paper grocery bags work well for most sizes) and cut them out. Write on the front of the paper what the picture is (ex. profile of Sara).
3. Then, lay the picture face down, and paper face down on top of it. Use your fingers to feel where the hanging hardware is, and use a nail to puncture the paper. (You’re trying to put a hole in the paper exactly where you want the nail to go).
4. Tape the “paper pictures” to the wall in the arrangement you want. Try to maintain an even space around the pictures. If you’re hanging a single picture, or gallery style in a line, remember not to hang them too high. The center should be approximately eye level, roughly 5 feet (it also depends on how high your wall is). Remember not to put tape over the “nail holes”.
5. Get the arrangement exactly the way you want it. If you are having trouble, leave the paper on the wall and look at it the next day. Then, nail the paper to the wall using the holes in the paper as your guide.
6. Leaving the nails in the wall, remove the paper and hang the real pictures. Yay! You’re done!
That becomes this:
Another way is to do your layout with painters tape to make sure everything is nice and even.
1. Unfurl a length of painters’ tape (ours was 1 1/2 inches wide) horizontally across a wall, making sure tape is level.
2. Determine nail placement for frames above the midline by measuring from the bottom of a frame to its bracket. (If the frame hangs on wire, pull the wire taut, and measure accordingly.)
3. For frames below the midline, measure from the top of the frame to the bracket. Use additional strips of tape, positioned vertically, to create even spaces between pictures arranged next to each other.
4. When all frames are in place, remove tape from wall.
Marta Stewart also posted a video which I found very helpful.
So now we get to the fun part – the layouts!
This image below works well because everything is framed and matted similarly.
I love this use of space. Where most people might think to put one row of photos horizontally across the wall, this family utilized the entire space and it makes an amazing impact.
This (below) doesn’t always work, but these proud homeowners clearly measured out each space perfectly!
Mixing black and whites and color images in one space is usually a no-no. But mixing white frames and black frames with all black and white prints is a YES-YES!
This works really well because they kept the straight line horizontally through the images. That line divides top and bottom and makes it easy for the eyes to view the photos.
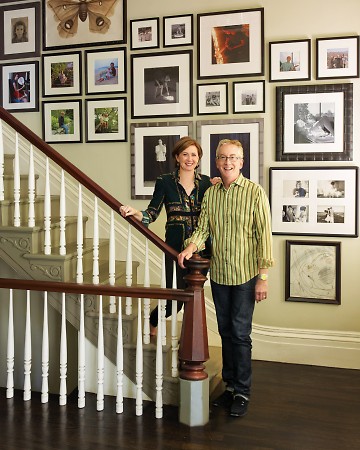
I love how these photos reach the ceiling! Great use of vertical space!
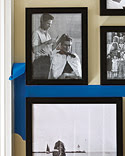
There’s nothing that says photos have to hang! I love the use of this wall shelf as a place to showcase family photos. A mantle would serve the same purpose. Mix it up, hang some, and lean some up against the wall.
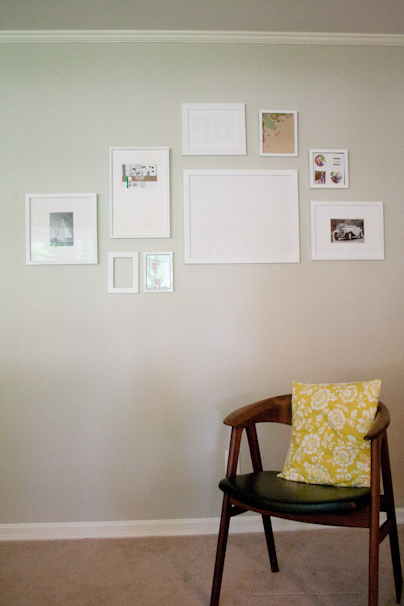
Oh if only we all had homes this amazing. Or decorating style so elegant! If I lived in this next house it would be covered with marker and chocolate in about 30 seconds! I love this wall because it’s not symmetrical, the tops and bottoms of each frame do not line up, and yet it works because they kept the frames simple and matching the decor of the room.
This tree is actually a wall stencil, which I thought was so smart! It transforms a wall collage into true art and makes it so much fun.
One thing to keep in mind, when hanging one photo alone, you need to go BIG. These are my girls, I went big and am so happy. I’ve posted this photo before, but really the 8×10 on this wall is a joke.
A few more visuals to show how creative you can be when hanging photos.

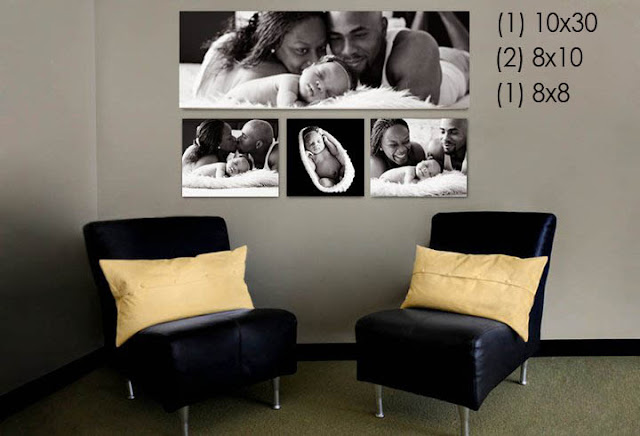
And I’ll end this post with a gallery I did for one of my favorite clients (yes, they’re all favorites really). The wonderful thing with canvases is we can order them in odd sizes. In order to make this perfect rectangle work, I needed to order weird sizes. Instead of the traditional 11×14, we did 11.25×14.5, and odd sizes like that. I love the symmetry and perfection!


